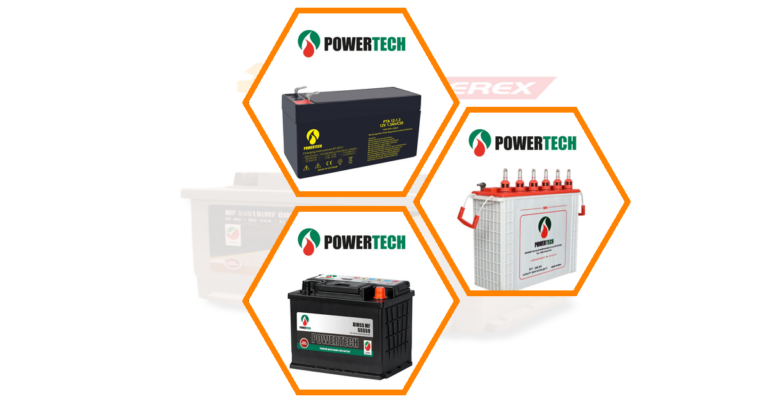
Batteries provide power to key vehicle systems. Over time, extreme temperatures, vibration, and ageing can degrade battery health, leading to failure. Since problems happen silently, periodic battery checks are important.
In 15 minutes, you can check critical aspects like charge level, connections, and physical condition using common household tools. With this knowledge, you can catch issues early and help your battery last longer through appropriate maintenance.
Let’s do a quick battery health check!
Gather Necessary Tools
You likely already have the few simple tools needed for DIY battery testing around your home. At a minimum, you will need:
- Safety glasses
- Flashlight
- Battery terminal brush
- Baking soda and water mix
- Digital multimeter (optional)
- Battery load tester (optional)
Safety first – put on glasses and have baking soda water mix handy to neutralise any battery acid leaks. Before testing with a multimeter, let’s move on to some simple visual checks.
Visually Inspect the Battery
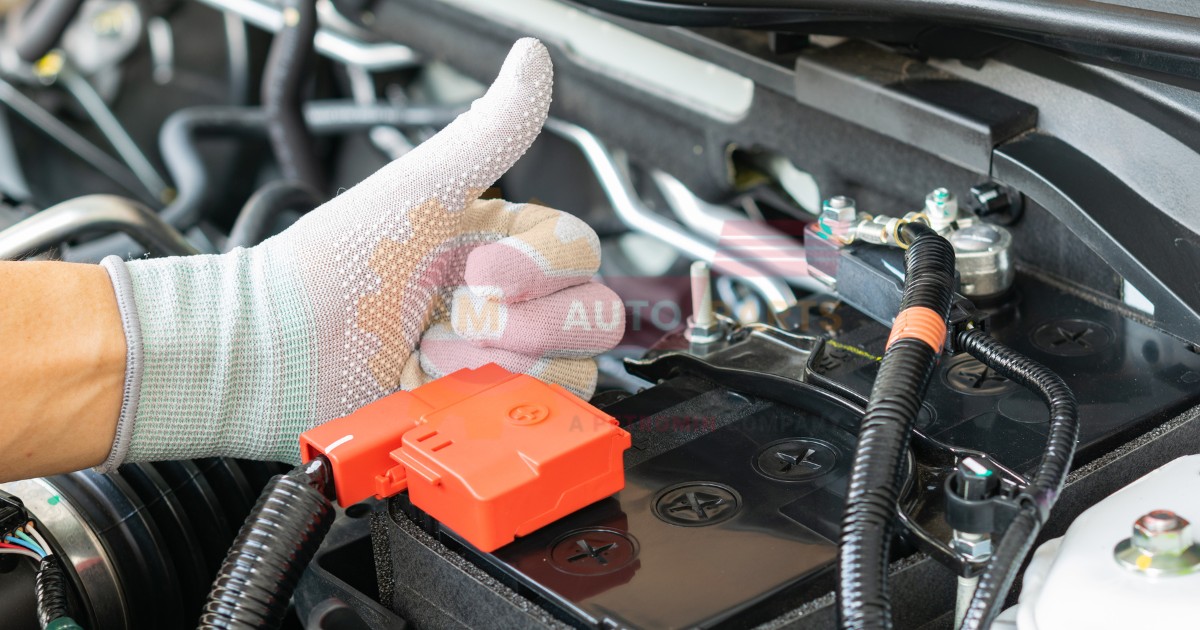
The next step is a visual inspection of the battery. Look for any cracks, leaks, or damage to the battery case. Also, check that the battery terminals are clean, free of corrosion, and tight. Loose or corroded terminals can impact starting and charging.
Check the Age of the Battery
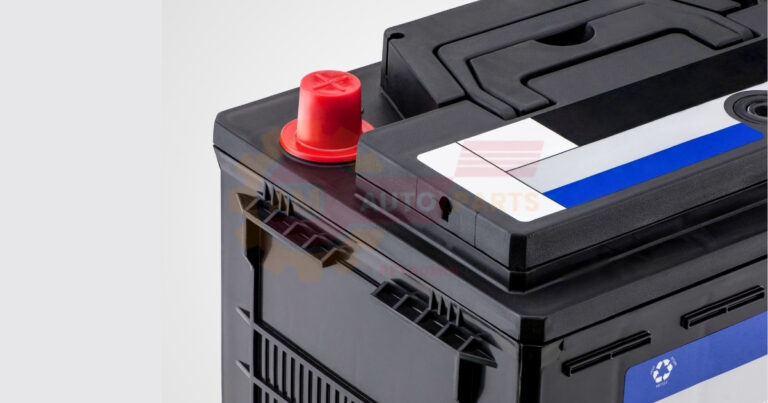
Batteries typically last 3-5 years in hot climates like the UAE. The manufacture date is usually printed on the top or side of the battery. If your battery is over 3 years old, it’s a good idea to test it even if it’s functioning normally.
Use a Battery Tester
Using a battery tester is the best way to assess your battery’s health. Testers measure the voltage and other key metrics to determine if the battery can still hold a proper charge. Many auto shops and retailers sell affordable testers.
Steps to Use a Battery Tester
- Turn off the ignition and all electrical accessories
- Connect the tester’s red clamp to the positive terminal and black clamp to negative
- Check the tester display for battery status
- Compare it to the manufacturer’s specs for pass/fail
Check Battery Voltage
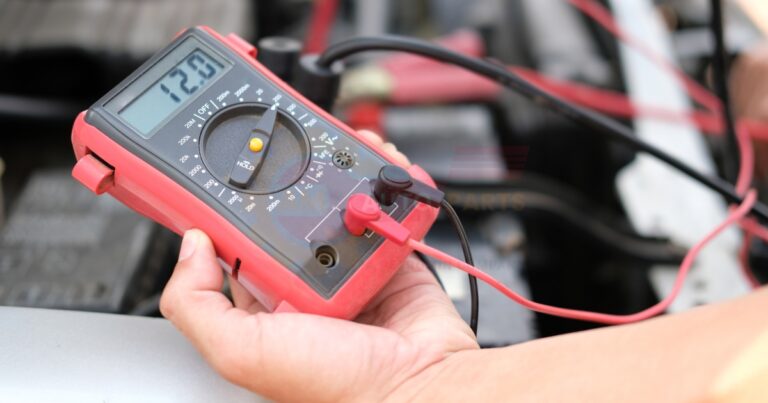
Using a digital multimeter is the most accurate way to determine the state of charge. Videos online show precisely how to connect and take readings. Look for ~12.6V or higher for a good charge. Below 12.4V indicates charging is needed to prevent issues.
| Voltage Range | State of Charge | Action |
| 12.6V – 12.8V | 100% – 75% | Fully charged |
| 12.4V – 12.6V | 75% – 50% | OK, but charge soon |
| 12.2V – 12.4V | 50% – 25% | Low charge – Charge now |
| Below 12.2V | < 25% | Extremely low, charge immediately |
Voltage chart for 6-cell 12V lead-acid battery
Perform a Load Test
A load or capacity test determines if the battery can deliver the electrical current needed to start your engine. This requires a load tester available at most garages.
Steps for a Load Test
- Turn off all electronics
- Clip tester clamps to battery terminals
- Turn on the load tester over 15 seconds
- The pass result will show 9.6+ volts after 15 seconds
- The tester will indicate if the battery fails due to low capacity
Check the Battery Posts and Terminals
The battery terminals must be clean and tight to allow proper electrical flow.
- Use a wire brush to clean corrosion off posts and cable clamps
- Wash with a baking soda/water solution
- Retighten cable clamps until snug
- Apply dielectric grease to prevent new corrosion
Inspect Battery Hold Down
The battery should fit snugly in the tray and fasten down tightly.
- Check for cracks in the tray and replace them if needed
- Tighten any loose hold-down bolts
- Replace any damaged hold-down parts
Top Off Low Electrolyte Levels
The electrolyte is the liquid inside the battery cells. Low levels can indicate a failing battery or other issue.
- Use distilled water to top off low electrolyte
- Don’t overfill – electrolyte should cover plates by about 1/2 inch
- If levels are very low, have the charging system inspected
Watch for Signs of a Weak Battery
Aside from testing, there are symptoms displayed by a battery nearing the end of its lifespan:
- Dim headlights when idling
- Slow cranking when starting
- Battery light comes on the dashboard
- Reduced battery voltage
- Failure to hold a charge
If you experience these issues, a battery health check becomes necessary to determine if it needs replacement.
Maintain Your Battery
Proper care and maintenance can maximise your battery’s life and performance.
Tips for Battery Maintenance
- Clean battery posts/cables monthly
- Check electrolyte levels regularly
- Store the vehicle in a covered, cool area
- Disconnect the battery when storing the vehicle
- Avoid deeply discharging the battery
- Consider a battery disconnect switch
When to Replace Your Battery?
If your battery is showing its age based on the above tests and checks, replacement is likely needed:
- Failure to start the engine
- Won’t hold a charge
- Corroded terminals that can’t be cleaned
- Cracked or leaking case
- At or near the 3-5 year average lifespan in the UAE climate
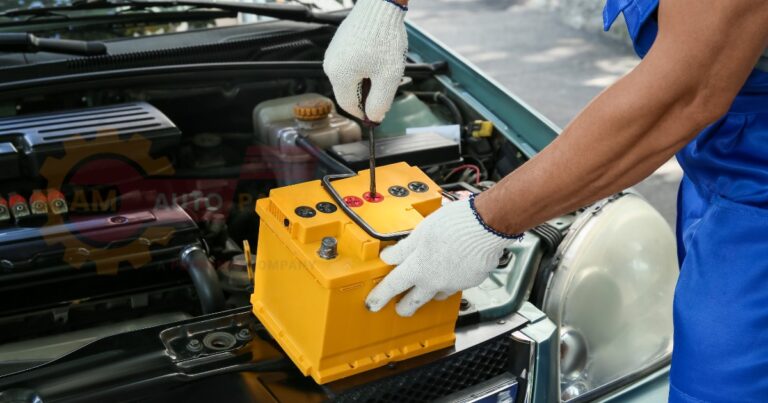
Installing a new battery with higher CCA (cold cranking amps) will improve starting in hot weather. Always replace your battery with one that meets or exceeds your vehicle’s specifications.
Conclusion
Checking battery health periodically and taking corrective actions early on allows you to catch issues and keep your car battery in peak condition for reliable everyday use. Follow this guide to test the charge level, connections, and parasitic drain and determine if replacement is due.
A few minutes’ inspection today provides peace of mind that your car will start every time you need to drive! Automotive power threshold is the point where a car’s engine starts to produce enough power to move the vehicle forward Automotive electrical measurement helps check if car parts that use electricity are working right It uses special tools to test things like batteries wires and lights in vehicles
Get a quote for a free battery test and charging system check from AM Autoparts specialist technicians. We’ll do a quick battery health check and determine if it needs replacement.
