What Order Do You Hook Up a Car Battery: A Complete Guide
Knowing the correct order to hook up a car battery is crucial for both the safety and the proper functioning of your vehicle. Whether you’re replacing an old battery or jumpstarting a dead one, understanding the right sequence can prevent damage to your car’s electrical system and ensure a smooth start. In this comprehensive guide, we’ll walk you through the process step-by-step, providing valuable insights from AM Autoparts experts along the way.
Understanding Car Battery Connections
Before diving into the process of connecting a car battery, it’s essential to understand the basic components and safety precautions involved.
Positive and Negative Terminals
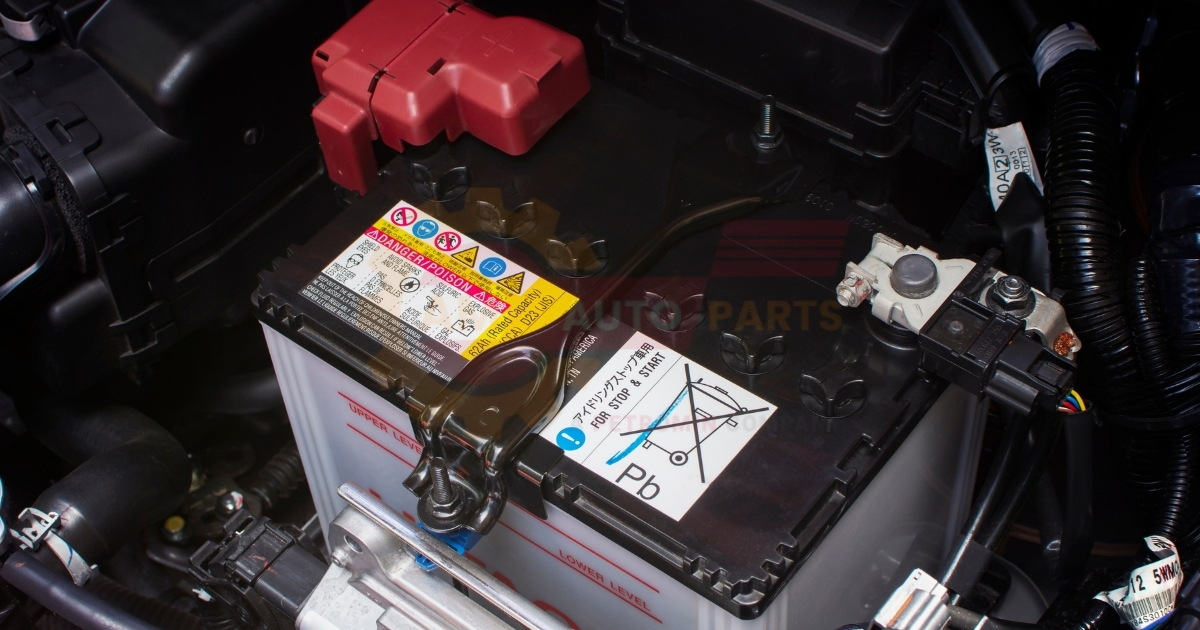
Car batteries have two main terminals: positive (+) and negative (-). The positive terminal is typically larger and marked with a red cover or a plus sign, while the negative terminal is usually black or marked with a minus sign.
These terminals serve as the connection points for the battery cables, which distribute power to the vehicle’s electrical system. Proper identification and connection of these terminals are crucial for the safe operation of your vehicle.
Safety Precautions
When working with car batteries, safety should always be your top priority. Here are some essential safety measures to keep in mind:
- Wear protective eyewear and gloves to shield yourself from potential acid splashes or electrical sparks.
- Remove any metal jewelry or watches that could accidentally come into contact with the battery terminals.
- Work in a well-ventilated area to avoid inhaling potentially harmful battery fumes.
- Keep open flames and sparks away from the battery, as they can ignite flammable gases.
Safety Checklist:
- Protective eyewear
- Insulated gloves
- Non-conductive tools
- Baking soda and water solution (for neutralizing acid spills)
- Fire extinguisher nearby
Proper Sequence for Disconnecting a Car Battery
Before installing a new battery or performing maintenance, you’ll need to disconnect the old one safely. Follow these steps to ensure a proper disconnection.
Turning Off the Engine
Always start by turning off the engine and removing the key from the ignition. This prevents any electrical current from flowing through the system while you’re working on the battery.
Locating the Battery and Terminals
Open the hood and locate the battery. In most vehicles, it’s situated in the engine compartment, but some models may have it in the trunk or under a seat. Identify the positive and negative terminals, ensuring you can clearly distinguish between them.
Removing Battery Cables
When disconnecting the battery, always start with the negative terminal. This helps prevent short circuits and potential sparks. Use a wrench to loosen the nut on the negative terminal clamp, then carefully remove the cable. Repeat this process for the positive terminal.
Disconnection Steps:
- Turn off the engine and remove the key
- Locate the battery and identify the terminals
- Loosen and remove the negative cable
- Loosen and remove the positive cable
- Secure loose cables away from the battery
Steps to Remove an Old Car Battery 
Once the cables are disconnected, you can proceed to remove the old battery from your vehicle.
Loosening the Battery Harness
Most car batteries are held in place by a clamp or bracket. Locate this securing mechanism and use the appropriate tools to loosen and remove it. Be careful not to damage any surrounding components in the process.
Safely Extracting the Battery
Car batteries can be quite heavy, often weighing 40 pounds or more. Use proper lifting techniques to avoid injury when removing the battery from its compartment. If possible, use a battery carrying strap for added safety and convenience.
Battery Removal Tips:
- Use a battery carrying strap for easier handling
- Lift with your legs, not your back
- Keep the battery level to prevent acid spills
- Place the old battery on a sturdy, level surface
Preparing for Battery Installation
Before installing a new battery, it’s important to prepare the area and ensure all connections are clean and in good condition.
Cleaning Cable Contacts and Terminals
Use a wire brush or battery terminal cleaner to remove any corrosion or buildup from the cable contacts and battery terminals. This ensures a good electrical connection and prevents future corrosion issues.
Inspecting Battery Connections
Examine the battery cables and connectors for any signs of wear, fraying, or damage. If you notice any issues, it’s best to replace the affected parts before installing the new battery. AM Autoparts offers a wide range of high-quality battery cables and connectors for various vehicle makes and models.
Preparation Checklist:
- Wire brush or terminal cleaner
- Baking soda solution for neutralizing acid
- Clean cloth for wiping surfaces
- Replacement cables or connectors (if needed)
- Battery terminal protector spray
Correct Order to Hook Up a Car Battery
Now that you’ve prepared the area, it’s time to install and connect the new battery. Following the correct order is crucial for safety and proper functioning.
Positioning the New Battery
Carefully lower the new battery into the battery tray, ensuring it’s oriented correctly with the terminals aligned properly. Secure the battery in place using the hold-down clamp or bracket.
Connecting the Positive Terminal
Start by connecting the positive terminal first. This is the opposite order of disconnection. Place the positive (red) cable onto the positive terminal and tighten the nut securely. Avoid overtightening, as this can damage the terminal.
Attaching the Negative Terminal
Finally, connect the negative (black) cable to the negative terminal. Tighten the nut to ensure a snug fit. Once both connections are secure, give them a gentle tug to confirm they’re properly attached.
Connection Sequence:
- Position and secure the new battery
- Connect and tighten the positive (red) cable
- Connect and tighten the negative (black) cable
- Double-check all connections
Jumpstarting a Car Battery
Sometimes, you may need to jumpstart a dead battery rather than replace it. Understanding the correct procedure is essential for safety and effectiveness.
Positioning Vehicles for Jumpstarting
Park the working vehicle close to the one with the dead battery, ensuring the batteries are within reach of the jumper cables. Turn off both vehicles and engage their parking brakes.
Connecting Jumper Cables
Follow this sequence when connecting jumper cables:
- Connect the red clamp to the positive terminal of the dead battery
- Attach the other red clamp to the positive terminal of the good battery
- Connect the black clamp to the negative terminal of the good battery
- Attach the other black clamp to an unpainted metal surface in the engine bay of the car with the dead battery (not the battery itself)
Starting the Dead Vehicle
Start the engine of the working vehicle and let it run for a few minutes. Then, attempt to start the vehicle with the dead battery. If successful, let both vehicles run for several minutes before disconnecting the cables in the reverse order of connection.
Jumpstarting Safety Tips:
- Use high-quality jumper cables
- Keep cables away from moving engine parts
- Never let the clamps touch each other
- Avoid jumpstarting if the battery is visibly damaged or leaking
Common Battery Connection Mistakes to Avoid 
Even experienced DIY mechanics can make mistakes when connecting car batteries. Being aware of these common errors can help you avoid potential problems.
Reversing Terminal Connections
One of the most serious mistakes is connecting the battery terminals in reverse. This can cause significant damage to your vehicle’s electrical system and potentially lead to a fire. Always double-check your connections before finalizing the installation.
Overtightening Battery Clamps
While it’s important to ensure a secure connection, overtightening the battery clamps can damage the terminals. Use a torque wrench if available, or tighten until snug without applying excessive force.
Mistake Prevention Checklist:
- Clearly identify positive and negative terminals
- Use color-coded cables for easy identification
- Follow the correct connection sequence
- Avoid using excessive force when tightening connections
- Double-check all connections before starting the vehicle
Maintaining Your Car Battery
Proper maintenance can extend the life of your car battery and prevent unexpected failures.
Regular Inspection and Cleaning
Periodically inspect your battery for signs of corrosion, leaks, or damage. Clean the terminals and cable connections using a mixture of baking soda and water, followed by a thorough rinse and dry.
Checking Electrolyte Levels
For batteries with removable caps, check the electrolyte levels regularly. If low, top up with distilled water, being careful not to overfill. Never add tap water or other substances to your battery.
Maintenance Schedule:
- Monthly visual inspection
- Quarterly terminal cleaning
- Bi-annual electrolyte level check (if applicable)
- Annual load test
Troubleshooting Battery Issues
Recognizing the signs of a failing battery and knowing how to diagnose problems can save you time and money in the long run.
Signs of a Failing Battery
Common indicators of a failing battery include:
- Slow engine crank
- Dimming headlights
- Electrical issues
- Battery warning light on the dashboard
- Swollen battery case
Using a Multimeter for Diagnostics
A multimeter can help you assess your battery’s health. Test the voltage across the terminals with the engine off; a healthy battery should read around 12.6 volts. With the engine running, the voltage should be between 13.7 and 14.7 volts.
Diagnostic Steps:
- Visual inspection for physical damage
- Check battery age (usually printed on the case)
- Test voltage with a multimeter
- Perform a load test if possible
- Check alternator output
When to Replace Your Car Battery
Understanding when it’s time to replace your battery can prevent unexpected breakdowns and ensure your vehicle remains reliable.
Average Battery Lifespan
Most car batteries last between 3 to 5 years, depending on usage and environmental factors. However, it’s not uncommon for batteries to fail earlier or last longer than this average range.
Factors Affecting Battery Performance
Several factors can impact your battery’s lifespan and performance:
- Extreme temperatures (both hot and cold)
- Short trips that don’t allow for full recharging
- Electrical system issues
- Frequent deep discharges
- Poor maintenance
Battery Replacement Indicators:
- Age (3+ years)
- Failing load test
- Frequent jumpstarts required
- Visible damage or corrosion
- Persistent electrical issues
By following these guidelines and understanding the proper order to hook up a car battery, you can ensure safe and effective battery maintenance and replacement. Remember, if you’re ever unsure about performing these tasks yourself, it’s always best to consult a professional mechanic or visit your local AM Autoparts store for expert assistance.
FAQ’s:
What order do you hook up a car battery when installing a new one?
When installing a new car battery, the correct order is crucial for safety and proper functioning. First, position the new battery in the battery tray, ensuring it’s oriented correctly. Next, connect the positive (red) cable to the positive terminal and tighten it securely. Finally, attach the negative (black) cable to the negative terminal and tighten it. This sequence helps prevent sparks and potential damage to the vehicle’s electrical system.
Does it matter which order you connect car battery terminals?
Yes, the order of connecting car battery terminals is important for safety reasons. Always connect the positive terminal first, followed by the negative terminal. This sequence minimizes the risk of short circuits and sparks that could potentially ignite battery gases. When disconnecting a battery, reverse the order: remove the negative terminal first, then the positive.
Can connecting car battery terminals in the wrong order cause damage?
Connecting car battery terminals in the wrong order can indeed cause significant damage. Reversing the connections can lead to a short circuit, potentially damaging the battery, alternator, and other electrical components in your vehicle. In severe cases, it may even cause a fire or explosion. Always double-check your connections and follow the correct sequence to avoid these risks. Automotive lead-acid cells are special batteries used in cars and trucks They store electricity to start the engine and power vehicle lights and other systems Battery health percentage
Battery voltage range The Jumpstart dead battery is a quick way to get your car running again when the battery is out of power You can use special cables to connect your car’s dead battery to another car’s working battery to bring it back to life
How do I know if I’ve connected my car battery correctly?
To ensure you’ve connected your car battery correctly, start by visually inspecting the connections. The red cable should be attached to the positive terminal (marked with a “+” sign), and the black cable to the negative terminal (marked with a “-” sign). Gently tug on each connection to verify they’re secure. If everything looks correct, try starting the vehicle. If it starts normally and all electrical systems function properly, you’ve likely connected the battery correctly.
What happens if you connect the negative terminal first when hooking up a car battery?
Connecting the negative terminal first when hooking up a car battery is not recommended. If you do this and accidentally touch the positive cable to any metal part of the car while connecting it, you could create a short circuit. This can cause sparks, damage to the electrical system, or even personal injury. Always connect the positive terminal first to minimize these risks and ensure a safe installation process.